Quickstart (Local Dev)
Get Nexgent running locally in under 15 minutes.
This guide covers local development setup. For cloud hosting deployment, see Quickstart (Cloud Hosting).
Prerequisites
Before starting, ensure you have:
- Node.js 18.0.0 or higher (download (opens in a new tab))
- pnpm 8.0.0 or higher (install (opens in a new tab))
- Docker Desktop installed and running (download (opens in a new tab))
- Git for cloning the repository
Setup
Clone the Repository
git clone https://github.com/nexgent-ai-org/nexgent-open-source-trading-engine.git
cd nexgent-open-source-trading-engine
Start Infrastructure
Start PostgreSQL and Redis using Docker Compose:
docker-compose up -dVerify services are running:
docker-compose ps
# Both nexgent-postgres and nexgent-redis should show "Up"
Install Dependencies
pnpm installConfigure Environment Variables
cd packages/backend
cp env.example .env
The defaults work with Docker Compose. Key settings:
# Database (Docker Compose defaults)
DATABASE_URL="postgresql://postgres:postgres@localhost:5432/nexgent?schema=public"

# Redis (Docker Compose defaults)
REDIS_HOST=localhost
REDIS_PORT=6379

# Server
PORT=4000
NODE_ENV=development
CORS_ORIGIN=http://localhost:3000

# JWT Secret (generate below)
JWT_SECRET="your-secret-here"

# Admin login credentials
ADMIN_EMAIL=admin@example.com
ADMIN_PASSWORD=your-secure-password

# Jupiter API key (required for price feeds and swap execution)
# Get yours at https://dev.jup.ag/
JUPITER_API_KEY=your-jupiter-api-key

# Solana RPC (optional; default: public mainnet)
# A dedicated RPC provider is recommended for production
# SOLANA_RPC_URL=https://your-rpc-provider.com

# Wallet private key for live trading (optional; simulation works without it)
# WALLET_1=your-wallet-private-key
Generate Secrets
From the project root:
# Generate frontend secret (NextAuth)
pnpm generate-secret

# Generate backend secret (JWT)
pnpm generate-secret:backend
Copy the generated secrets into your .env files.
Run Database Migrations
pnpm --filter backend db:migrateThis creates all necessary database tables.
Admin Account
The admin account is created when the backend starts using ADMIN_EMAIL and ADMIN_PASSWORD from your backend .env. If you change those env vars and restart, the backend updates the existing admin account to match. Use those credentials to log in.
Start the Application
# Start both frontend and backend
pnpm dev
Or start them separately:
pnpm dev:backend   # Backend on http://localhost:4000
pnpm dev:frontend  # Frontend on http://localhost:3000
Verify Installation
Check Backend Health
curl http://localhost:4000/api/v1/health
# Should return: {"status":"ok"}
Access the Dashboard
Open http://localhost:3000 (opens in a new tab) in your browser.
You should see the login page:
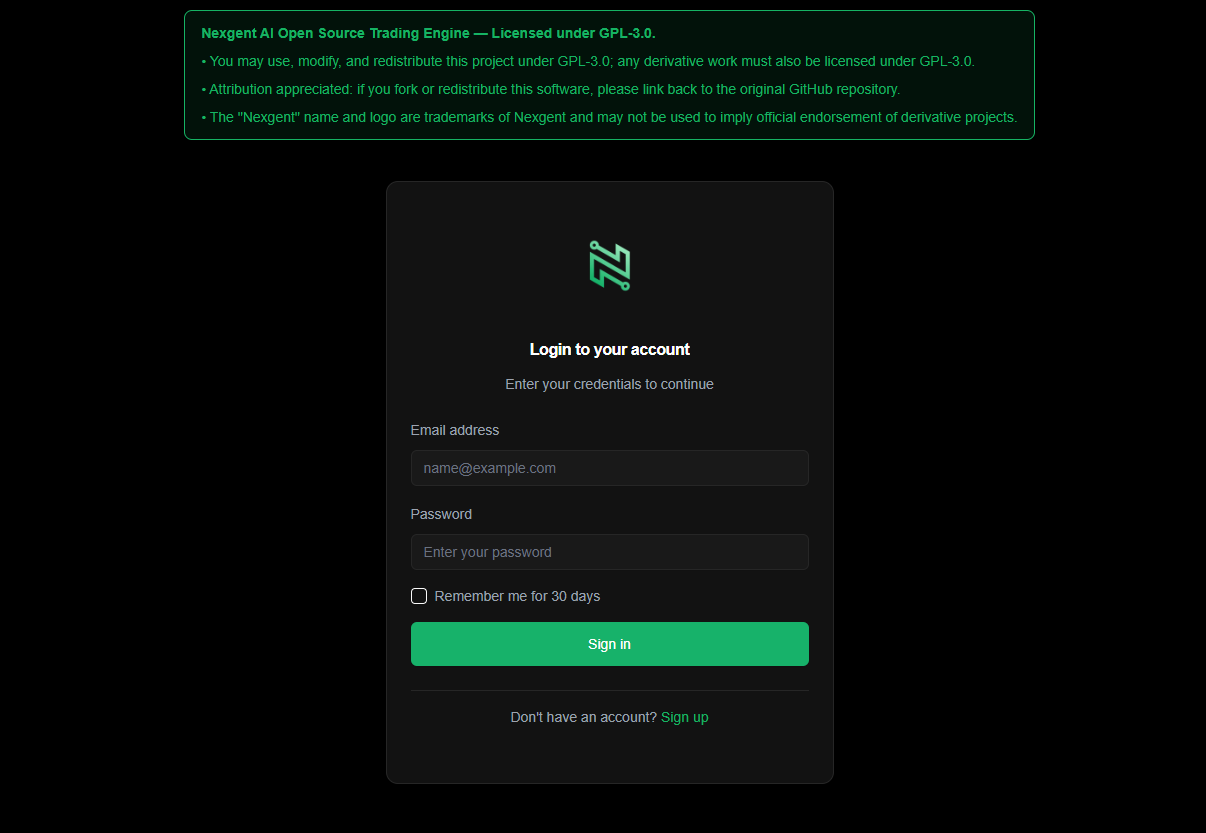
Log In
Log in with the ADMIN_EMAIL and ADMIN_PASSWORD you set in your backend .env.
What's Running
After setup, you have:
| Service | URL | Purpose |
|---|---|---|
| Frontend | http://localhost:3000 (opens in a new tab) | Next.js dashboard |
| Backend | http://localhost:4000 (opens in a new tab) | Express API + WebSocket |
| PostgreSQL | localhost:5432 | Database |
| Redis | localhost:6379 | Cache + job queues |
Troubleshooting
Port Already in Use
netstat -ano | findstr :4000
taskkill /PID <pid> /F
Docker Services Not Starting
# Check logs
docker-compose logs postgres
docker-compose logs redis

# Restart services
docker-compose down
docker-compose up -d
Database Connection Error
- Verify Docker is running:
docker-compose ps - Check
DATABASE_URLin.envmatches Docker Compose credentials - Run migrations again:
pnpm --filter backend db:migrate
Frontend Can't Connect to Backend
- Verify backend is running:
curl http://localhost:4000/api/v1/health - Check
NEXT_PUBLIC_API_URLin frontend.env.local - Check
CORS_ORIGINin backend.envincludeshttp://localhost:3000
Useful Commands
# Start everything
pnpm dev

# Stop Docker services
docker-compose stop

# View database with Prisma Studio
pnpm --filter backend db:studio

# Run tests
pnpm test

# Build for production
pnpm build